What’s the most essential ingredient for barbecue?
Did you say “the sauce?” Think again pal. Barbecue in many places (most notably Memphis) is served sans sauce, to no ill effect.
Dry rub is the thing that no self-respecting backyard pitmaster would leave out of his BBQ.
Dry rub performs to essential functions in barbecue:
- It brings new flavors to the party. Obviously.
- It creates “bark” on the outside of the meat. This is critical. It’s the thing that separates outstanding barbecue from food-court meat. More on it in a moment.
Dry rub is a crucial ingredient in excellent barbecue, but it doesn’t have to be a choice between blasé store-bought stuff and complicated concoctions you make on your own.
In fact, there is a secret blueprint for dry rub that will allow you to get a killer bark every time, while allowing you to come up with your own signature flavor.
Dry Rub Basics
Dry rubs impart a delicious flavor no matter what, but where they really shine is their ability to form bark.
No, I’m not talking about dry, bitter tree bark. I’m talking about the delicious, caramelized outer part of barbecued pork that only looks like it’s rock-hard and burned… but tastes like a little piece of heaven.
Bark is the result of two chemical reactions that occur together during low-and-slow cooking:
- Our old friend the Maillard reaction, where the outer edges of the meat undergo browning, creating all-new flavors.
- Polymerization of proteins underneath the surface of the dry rub, which creates what is known as a pellicle.
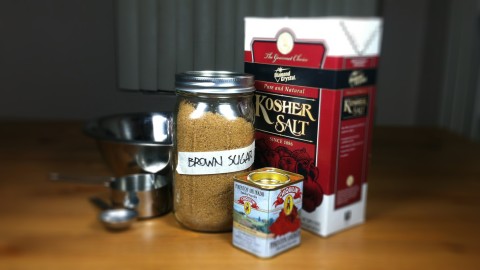
To achieve this dry rub perfection, you’ll need only three components:
- Salt
- Sugar
- Red pepper
As I’ve said before, salt is less of a flavor in and of itself, but more a means of bringing out the other natural flavors. They also play a crucial role in creating the pellicle when the salt pulls moisture out of the meat.
The sugar dissolves in this moisture and helps contribute to the bark. (Plus, a little sweetness goes great with pork!)
The red pepper brings the heat that we like in our barbecue, but is perhaps just as important in contributing the red color most people desire as well.
That makes for a bare-bones dry rub, but you shouldn’t stop there. A little extra somethin’ somethin’ in your dry rub will make it unique and memorable.
The Dry Rub Blueprint
Alton Brown (one of my personal heroes) breaks down dry rub into a formula as perfect as a haiku:
- 8 parts sugar
- 3 parts salt
- 1 part red pepper
- 1 part anything else
The parts should be measured by volume with measuring spoons and cups. (This ain’t baking, so no need to be crazy exact here.)
The formula is flexible enough to allow you to create your own unique rubs without straying too far from their original essence. Think of this as the Choose Your Own Adventure guide to creating your own signature dry rub!
For the sugar, you can use:
- White sugar
- Brown sugar
- Turbinado sugar
- Molasses
- Maple syrup
- Honey
Note that the last three will technically turn your dry rub into a wet rub, but no worries. It’ll work just the same.
For the salt, our old friend Kosher salt is the only reasonable way to go.
For the red pepper, you’ve got a few options as well:
- Cayenne pepper
- Paprika
- Chili powder
Lastly, for the “wild card” part, feel free to let your freak flag fly, but some of my favorite additions include:
- Black pepper
- Cumin
- Coriander
- Ginger powder
- Garlic powder
- Onion powder
Basic Dry Rub Recipe
The following recipe will give you enough dry rub for a rack of ribs or a pork shoulder, both classic BBQ preparations that we’ll be making in the next few articles.
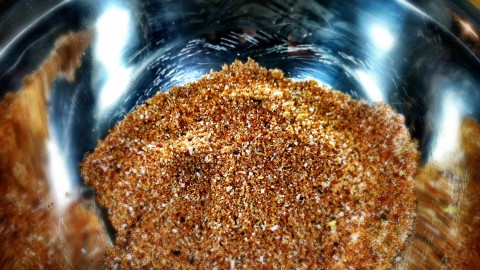
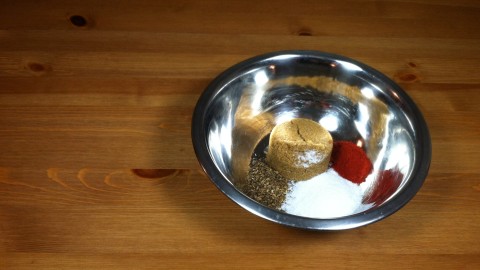
Combine the following ingredients:
- 1/2 cup brown sugar
- 3 tablespoons kosher salt
- 1 tablespoon paprika
- 1 teaspoon black pepper
- 1 teaspoon cumin
- 1 teaspoon coriander
That’s it.
If you’re going to be hitting the grill a lot, scale everything up (remember that 4 tablespoons = 1/4 cup) and keep it in a jar.
It’ll go faster than you think it will!
 I'm a science geek, food lover, and wannabe surfer.
Comments on this entry are closed.